
Time for another breadboard/cutting board. This time I had a piece of American Black Walnut that was longer than the other off-cuts but I decided to leave it long and see if I could shape the end later. I took the photo on a plain background so that I could experiment in Photoshop with different designs.

In Photoshop I masked-off parts of the wood to see what sort of design I could have. This photo is not the actual board but a copy of the image above with bits masked-off.

Back in the workshop I found a plastic lid with a nice diameter (although larger than my Photoshop prototype) to use as a template for the radiused corners. I marked the centre of the walnut where it stuck out and where I estimated the centre of the semicircle should be. Then I used the lid to trace joined-up quarter-circles on the wood.

I used the bandsaw to roughly cut-out the shape, keeping outside the lines. The bandsaw had a 19mm blade fitted so I was unable to follow the curves tightly, especially the internal curves, where it was a case of nibbling away the wood. This task was the ‘real-world’ version of what I had previously done in Photoshop.

When it came to sanding the outline to its final shape I decided to use the end of my belt sander to shape the internal curves. Unfortunately this had an even larger radius than the plastic lid I had used, so I ended up with a sort of shield shape!

I trimmed the ‘horns’ using the disc sander


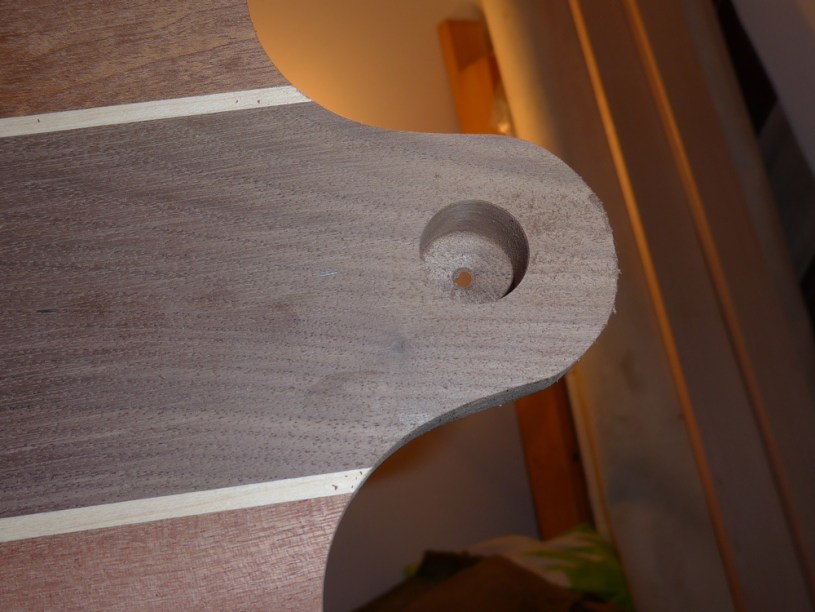
I installed a 19mm forstner bit in the drill press and adjusted the depth so that only the tip of the forstner bit would break through the underside of the board


I then turned the board over and drilled the remainder out using the small pilot hole as a guide

This technique results in no breakout and a cleaner hole

During this project it was obvious that the best tool to sand the internal curves would have been an oscillating spindle sander, but I didn’t have one. And that was enough justification for me to add a new tool to my collection! So I’ve ordered one and will be reporting on it in the next post.
I’ll use it to finish off this project. (see Part II)
Gallery


