
I’ve been meaning to have a go at making something like this for years. I don’t know what the exact use of the original would have been. I’m going to use the one I build to keep the front door key in and maybe put an LED candle on it. This post describes how I copied the design, made templates, and created a prototype. The finished product will be the subject of another article.
I decided to copy the design of one I saw online.

I didn’t know the dimensions of the piece. It was probably larger than I wanted but I drew up a plan for it, keeping the same proportions (as much as I could measure from the drawing). I printed out an outline of it so I could measure from the picture.

I designed the back of it using Sketchup but used some French curves to create the flowing shape of the sides.

I cut-out my drawing of the side part

.. and glued it to a piece of ply. I had decided to make router templates for the sides and back, so that I could easily create copies of the piece. I used the bandsaw to cut out the shape, keeping fractionally outside of the drawn line. I first ripped to the width of the side piece

.. and then cut out the curved section

The extra pencil line represents my transposed measurements of the original, but I felt the shelf might be too shallow, so I added an extra bit on to make the side pieces wider. I could always trim down to the original size later if I chose to.
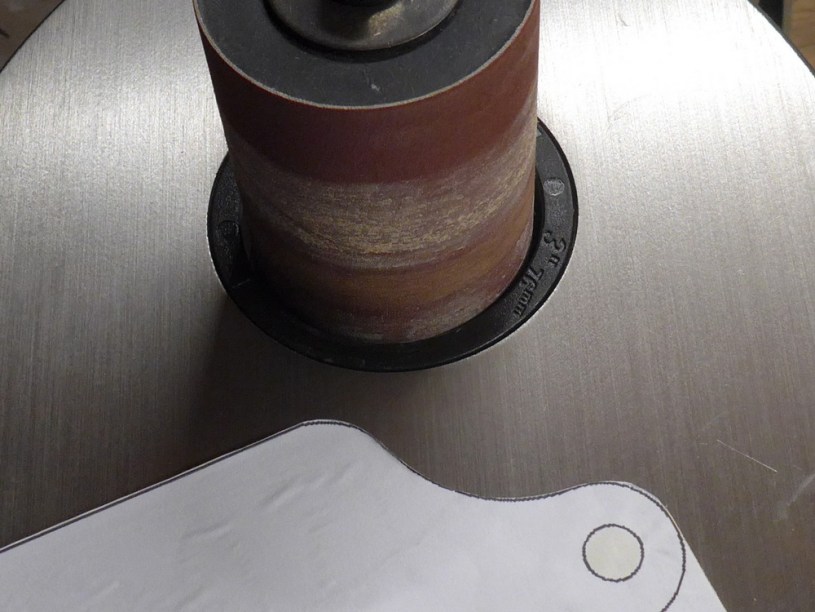
I used the spindle sander to smooth the cut edges back to the pencil mark

As this piece was going to be used as a template for the side parts, I attached two strips of wood to act as fences on two sides

To create an actual side part I placed the template over a piece of ply and traced the outline onto it.

.. and then cut out the shape, keeping outside the line. It will be trimmed back to the line by the router

I then used a bearing-guided router bit to cut the piece to the exact shape. The ball bearing follows the template while the cutter cuts the work-piece. It’s easier to see this in later photos. First I placed the rough-sawn piece on the template and pushed it tight against each fence

Then ran it against the router cutter bearing to trim the excess. I did this a second time to produce the two side pieces I needed

For the back part, I printed out the design from Sketchup and glued it onto a piece of ply and cut out roughly on the bandsaw as before

Because the shape of the back is symmetrical I only needed to make a template for just half the shape.
Once again I sanded to the line using the spindle sander

.. and attached fences to create the template jig. I also scraped off the paper, which left marks where the glue had been.

Once again I used the template to draw out the shape on my work-piece and cut roughly to shape on the bandsaw

.. and used the router to trim to the template dimensions


This shows the work-piece on the template after trimming the first half

.. and then I flipped the piece over to trim the other half

Notice that in these photos the jig is wider than the finished back piece. I later trimmed it to be exactly the same size, so that when I come to make any copies of this piece in future I will be able to use the template to cut my work-piece to the correct width before routing the curved parts.
I cut another two pieces of ply for the shelf and base and glued the whole lot together to see what it looked like.

I was pleased with the overall look and will now go ahead and build a nice one from ‘proper’ wood instead of ply.
Gallery
Click an image to enlarge it and scroll through other images
Tools used
- Table saw
- Bandsaw
- 6″ Belt sander
- Router table
- 12.5 mm bearing-guided straight bit (router, trimming curves)
- Oscillating spindle sander
- Stanley Block Plane
- Old 1″ chisel (to scrape the paper off)
- Various clamps
- French curves
- Sketchup
- Inkjet printer
- Steel rule
- Pencil
Materials used
- 9 mm plywood
- Mahogany
- Gorilla wood glue
- A4 paper
Things that worked well
- Spindle sander was ideal tool for smoothing the template curves
- Creating only half the profile of the back piece on the template for the back piece and flipping the work-piece over ensured that the router bit was always cutting ‘down hill’ so no break out occurred.
Things that didn’t work (and improvements)
- When I came to rout the curves of the back piece, the router bit grabbed the work-piece and it moved about 8 mm away from the rear fence of the jig towards the router bit. To help prevent this I will glue some fine sandpaper to the template to help grip the work-piece. This prototype ended up being 8 mm shorter than intended because of this slip.
